All current versions of Outlook include a Read Receipt field, including Outlook 2010, 2013, 2016/2019/365.
To see the Read Receipt indicator, you need to customize the view by adding the Receipt Requested field. For best results, you will need to use the Single Line view to see the read request field.
To add the field to the view:
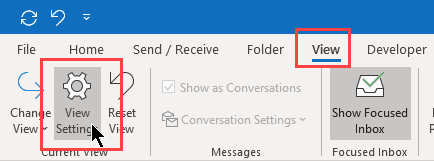
- Switch to the View menu. If you use the "old" ribbon, click View Settings. If you are using the Simplified ribbon, it's under then Current View > View Settings.

- Click Columns.
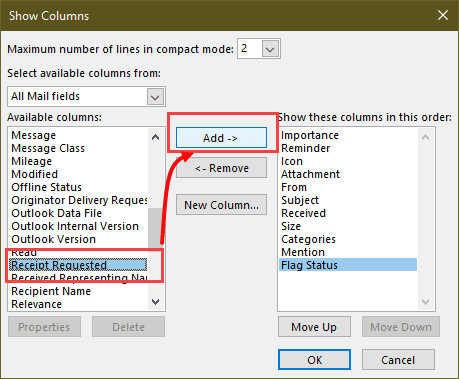
- Select All Mail fields from the Select available columns from: menu.
- Find and select Receipt Requested and Add it to the columns to show.
- Click OK and close the dialogs.
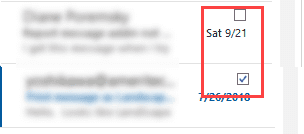
After you add the field to the view, slide the reading pane to the right to show the Receipt Requested field, where you'll see Yes (a receipt is requested) or No (not requested).

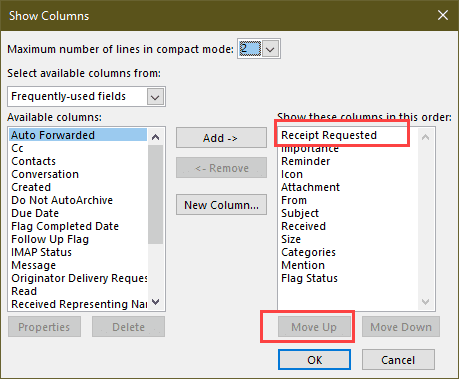
To show it in the Compact view, you need to move the Receipt Requested field to the top of the Columns list.
You may also want to change the Formatting to Icon in View Settings > Format columns. (You can do this for the Single line view too.)
![]()
It will look like this in the Compact view: