I had a user ask how they could move deleted messages out of the Deleted Items folder, to avoid the automatic 30-day deletion.
The easiest way to do this is to not delete the messages you might want to keep, only deletes obvious spam and junk mail.
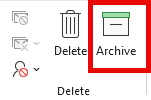 If you are deleting mail because you want a clean mailbox, use the Archive folder instead. If you click icons to delete mail, click the icon that looks like a file drawer instead. Keyboarders will use the Backspace key, not the Delete key.
Plus, either of those methods work with any versions of Outlook.
Another option is using a Quick Step, which works in new, classic, and web versions of Outlook. The advantage is you can choose the folder to move mail to, rather than moving to the Archive folder. Quick Steps can be assigned keyboard shortcuts in the form of CTRL + SHIFT + [number: 1 - 9], which is not necessarily the easiest shortcut to hit. If you are a mouse user, Quick Steps are on the Home ribbon.
If you are using classic Outlook, you could use Auto Archive to move the messages to a new PST. You can configure auto archive to apply only to the Deleted Items folder.
VBA is also an option in classic Outlook but requires you to lower the macro security.
PowerShell can move the messages and does not require changing the security settings. It can also run from Task Scheduler, avoiding the need to run it manually. If your mail server automatically deletes items in the trash folder that are older than 30 days, you only need to run the PowerShell once every week or two to insure you don't miss any messages. You will need to have classic Outlook open before the PowerShell runs.
Because the Deleted items folder can contain calendar and contact items (and other non-message mail items, like undeliverable reports and meeting requests), PowerShell checks to see if the item is a mail item and only moves the messages. Otherwise, Outlook will create a Draft item instead of moving it to the folder.
$outlook = New-Object -ComObject Outlook.Application
$namespace = $outlook.GetNamespace("MAPI")
$fromFolder = $namespace.GetDefaultFolder(3) # Deleted Items folder
$moveto = $fromFolder.Parent.Folders("Hold Deleted For Review")
$items = $fromFolder.Items
$EmailCount = $items.count
for ($i = $EmailCount; $i -ge 1; $i--) {

    # Get the current item
    $item = $items.Item($i)
    # Check if the item is a MailItem
    if ($item -is [Microsoft.Office.Interop.Outlook.MailItem]) {
      $item.Move($moveto)
    }
}
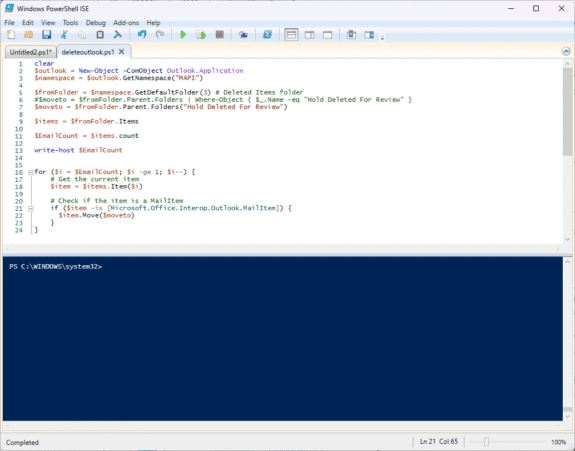
Using PowerShell Scripts
To use PowerShell scripts with Outlook, start typing PowerShell on the start menu and open Windows PowerShell when it comes up. Windows PowerShell ISE has a script pane at the top, which is useful if you want to edit the script.
Paste the entire script in the PowerShell window and press Enter or the Run button if using PowerShell ISE.
Note: PowerShell scripts will not work with new Outlook or Outlook on the web.
Saving PowerShell Scripts
If you want to save the script as a .ps1 file, paste it into Notepad and save it with the extension .ps1. To open it in the PowerShell IDE, type PowerShell on the start menu and click on Windows PowerShell IDE when the PowerShell app is found. Paste the script in the editing window.
To use it, you need to allow local scripts by running this command:
Set-ExecutionPolicy RemoteSigned
To run your saved .ps1 file, right-click on the script and choose Run with PowerShell.
Leave a Reply